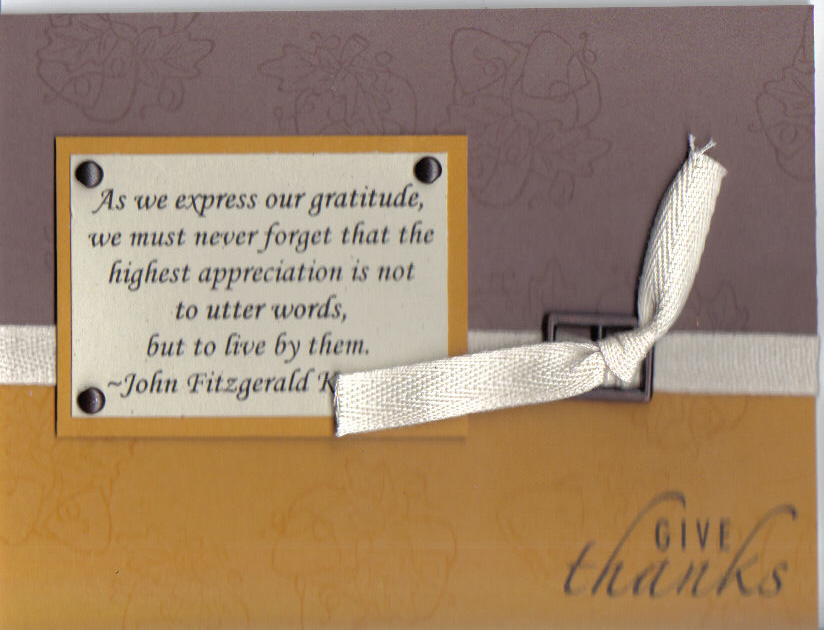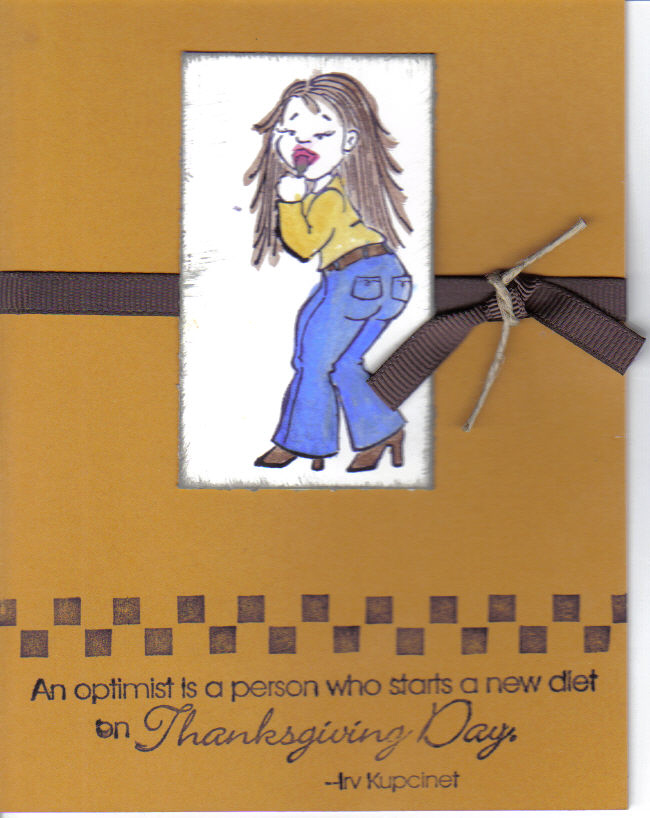
I'm on a roll! Posting 3 days in a row! What's a gal to do! LOL I made this for my Secret Sister but forgot to send it so I will slip it into the reveal pacakge along with everything else. I just love this set! I got it from MissyB Designs. Her stuff is great! Check out her website here: http://www.missybdesigns.com/index.html And if you get something, tell her Sharon (scrown8301) sent you. *wink* *wink* While your there, check out her idea gallery. I won one of her contests so my card is on it. It's near the bottom. It's a pink card with a little princess on it. Anyhow, now back to this card. I used More Mustard (SU) Cardstock for the base of the card. The checkers are from the Button Bear set from Stampin Up. The sentiment and girl image are from the Thanksgiving set from Missy B. First I stamped the sentiment and then I stamped the checkers above it. Then on whisper white (SU) cardstock I stamped the girl image. I used my watercolor brush (SU) and inks to watercolor her. Her jeans are done with two seperate colors to give it more of a worn look. (Night of Navy first and then Brillant Blue over parts of the jeans) The Belt, shoes and hair are Close To Cocoa and the shirt is more mustard. The spoon is Going Gray and the lips are Real Red. I dtp'ed the edges in Going Gray to give the image a little something extra. Then I added chocolate chip ribbon and layered the image over it. I added some more chocolate chip ribbon and some hemp to finish it off. Have I mentioned that I love stamping? :o)
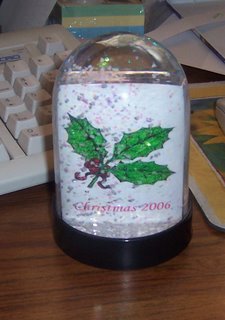 I found create your own photo snowglobes at WalMart for I think like $2 the other day. So I picked up a couple. They are really easy. You just pop the bottom out, use their sample photo as a template for how big you need to cut you cardstock and then you stamp away! I printed the words Christmas 2006 in red on my printer before cutting the cardstock to size. I sure hope she likes this. I love it! I am thinking of going to get some more because they were just that easy.
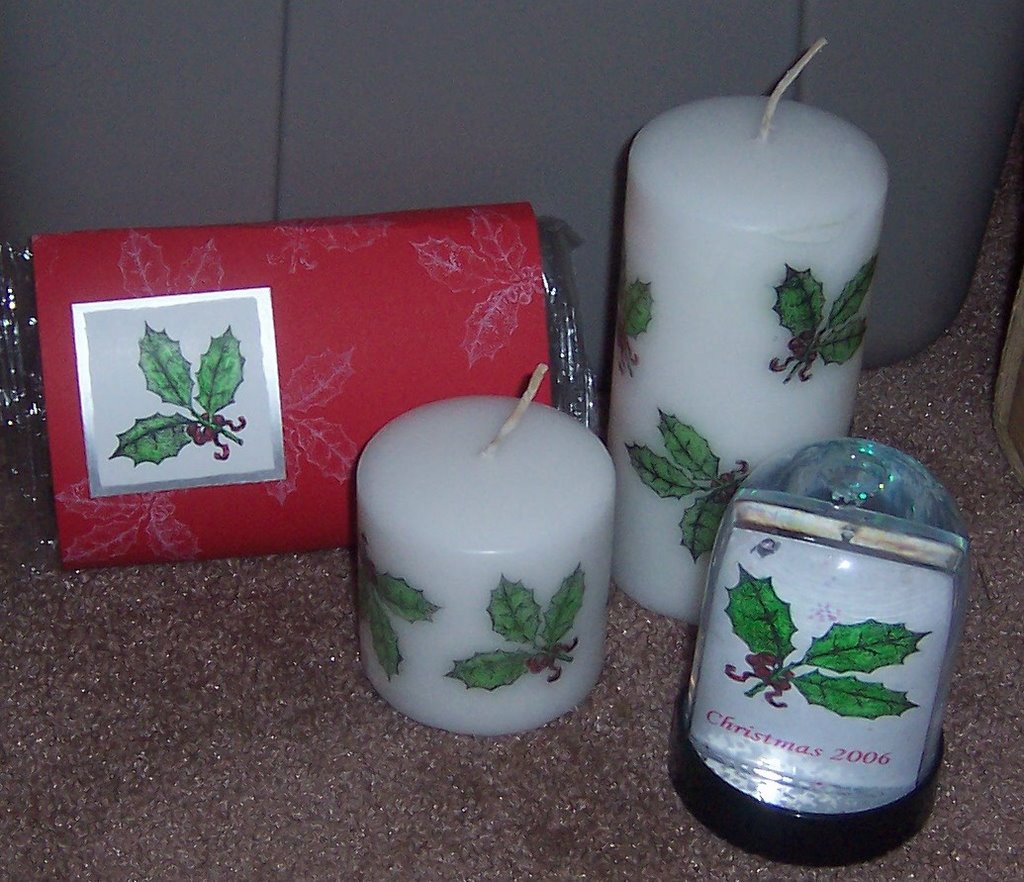
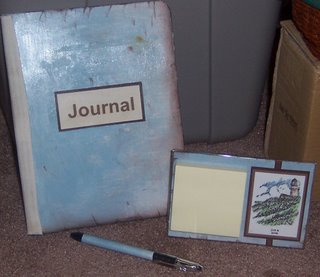 This is the other gift set for my Secret Sister. I coverd a composition notebook using Basic Gray Paper and I ran the ink along the sides to give it an aged look. I ran twill tape up the side of the binding. The word Journal is printed from my printer. The RSVP pen was covered using the same basic gray paper. I have never done an acrylic post it holder before. This was so easy! I am definately going to do more. The Image on the post it holder is from the SU set Always on My Mind. The words Just A Note under the image is from All Year Cheer from SU. For details on how to make your own post it holder check out the resources page on Splitcoast Stampers.